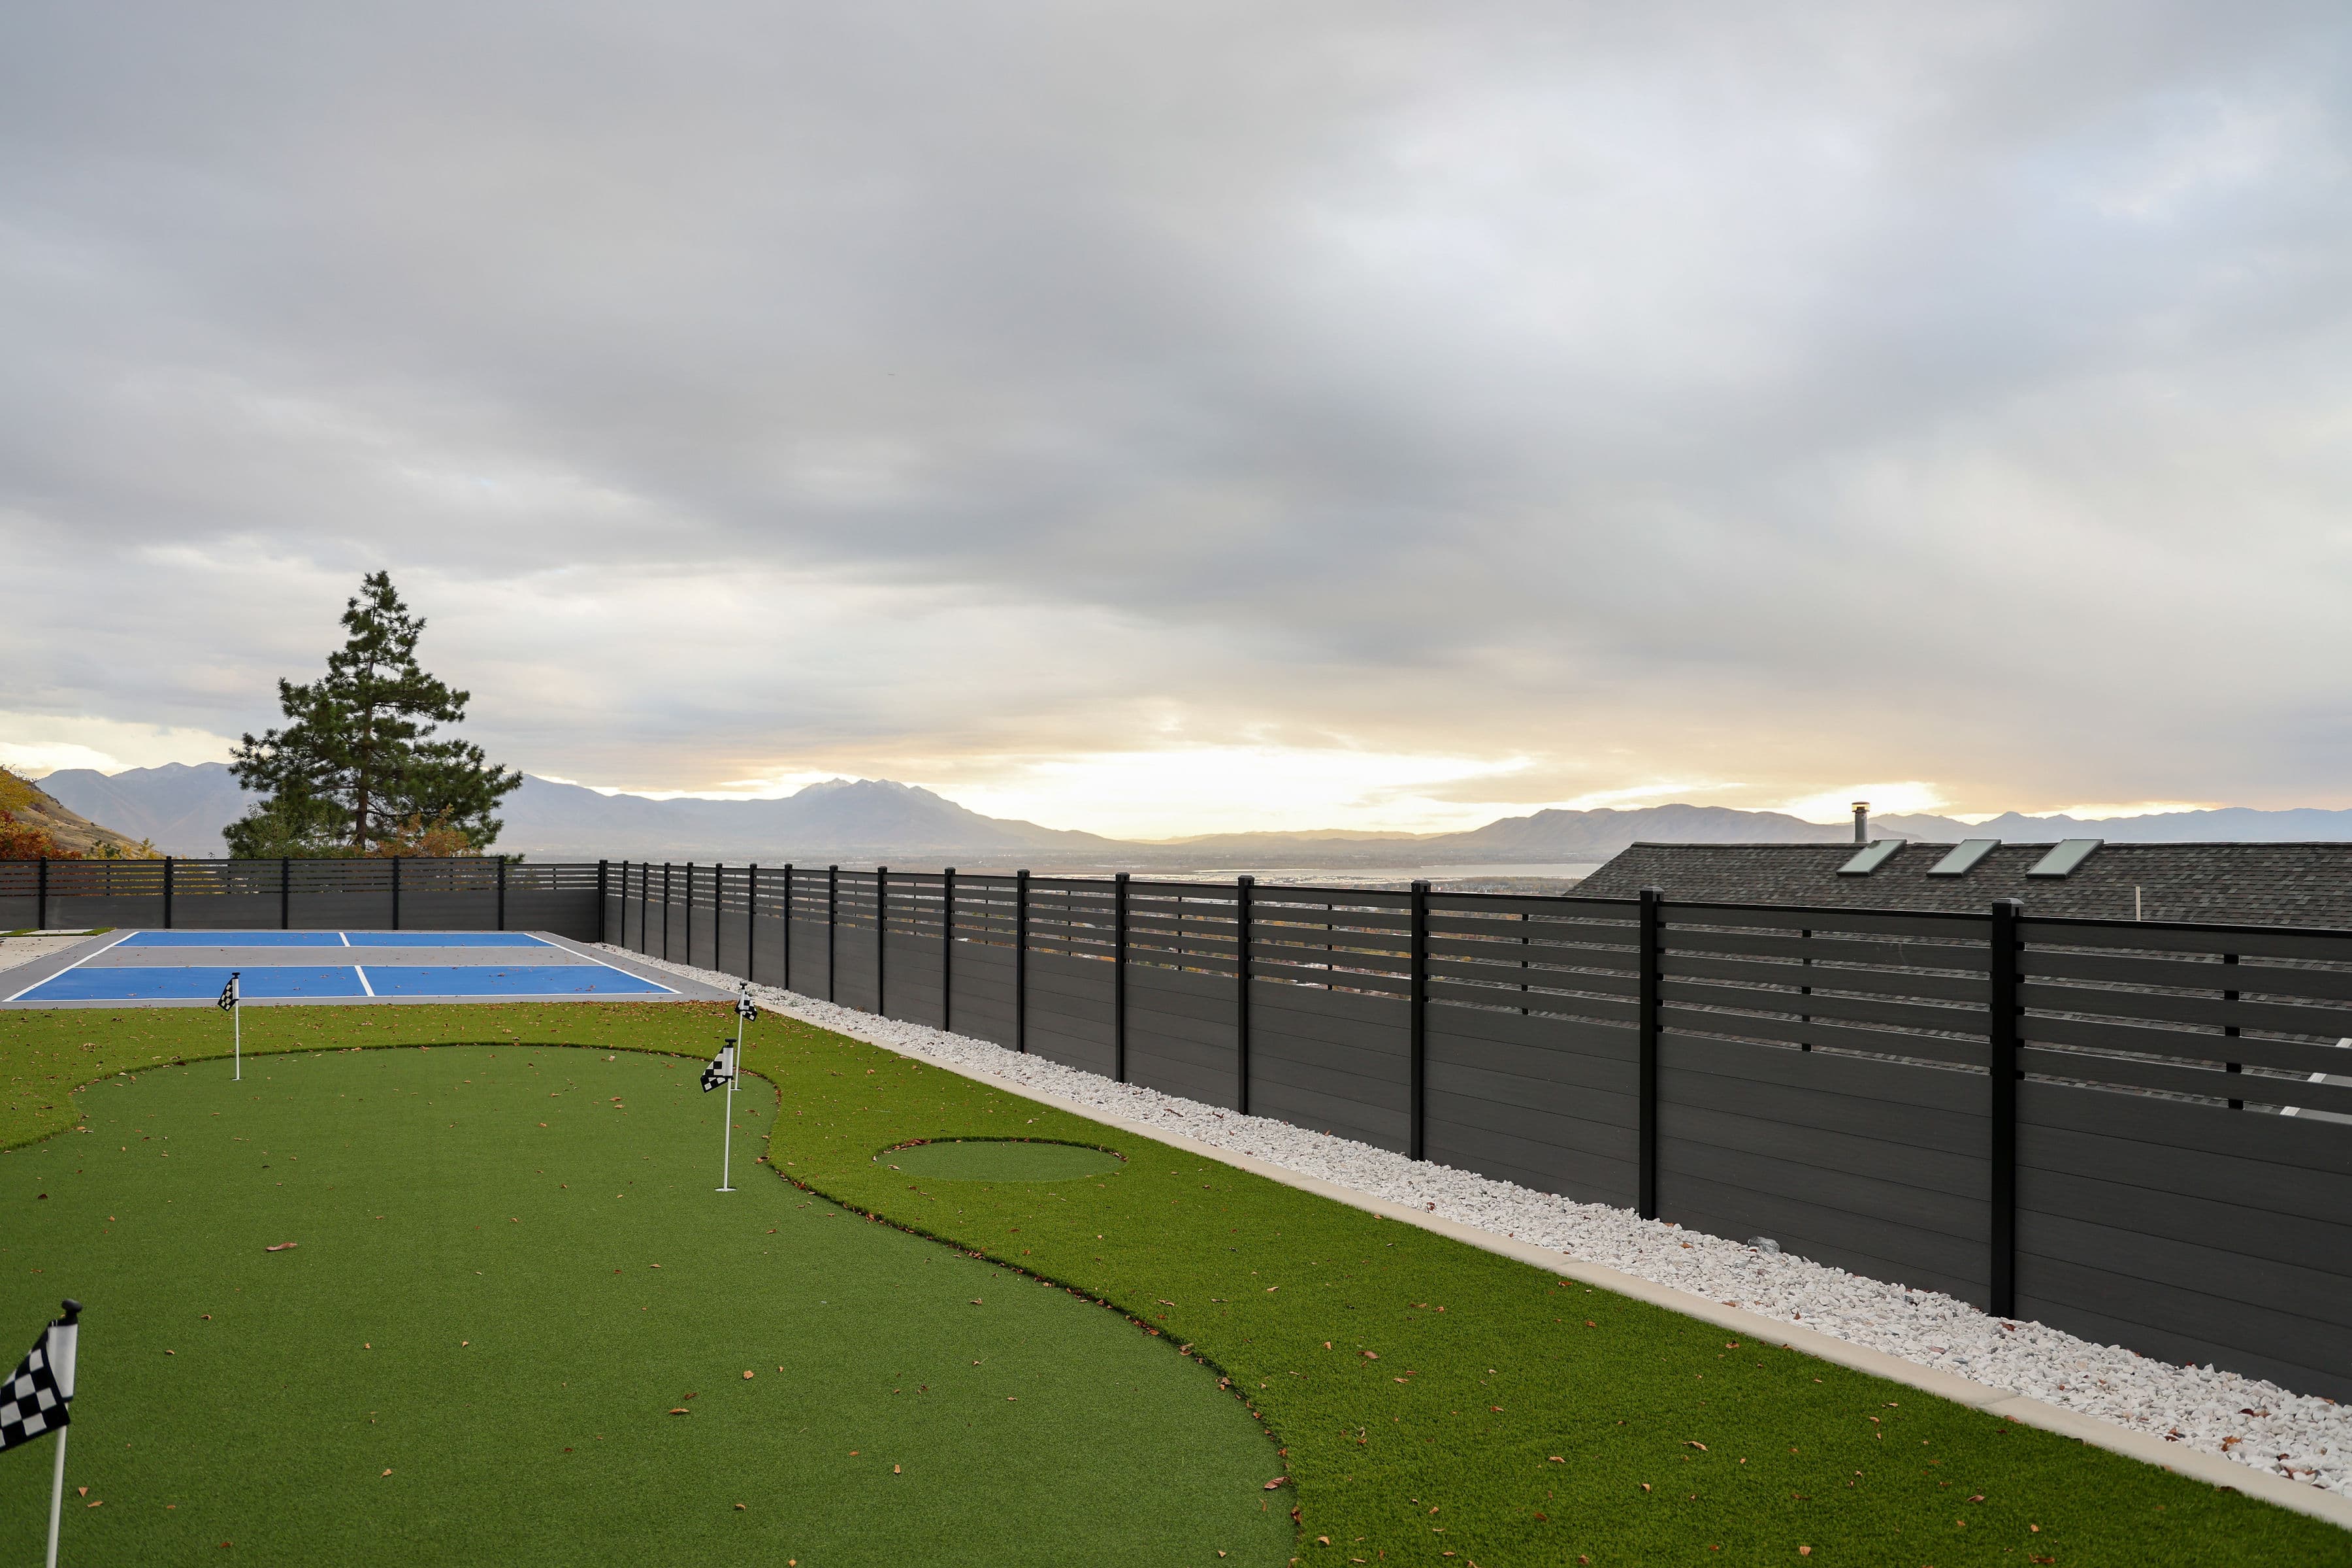
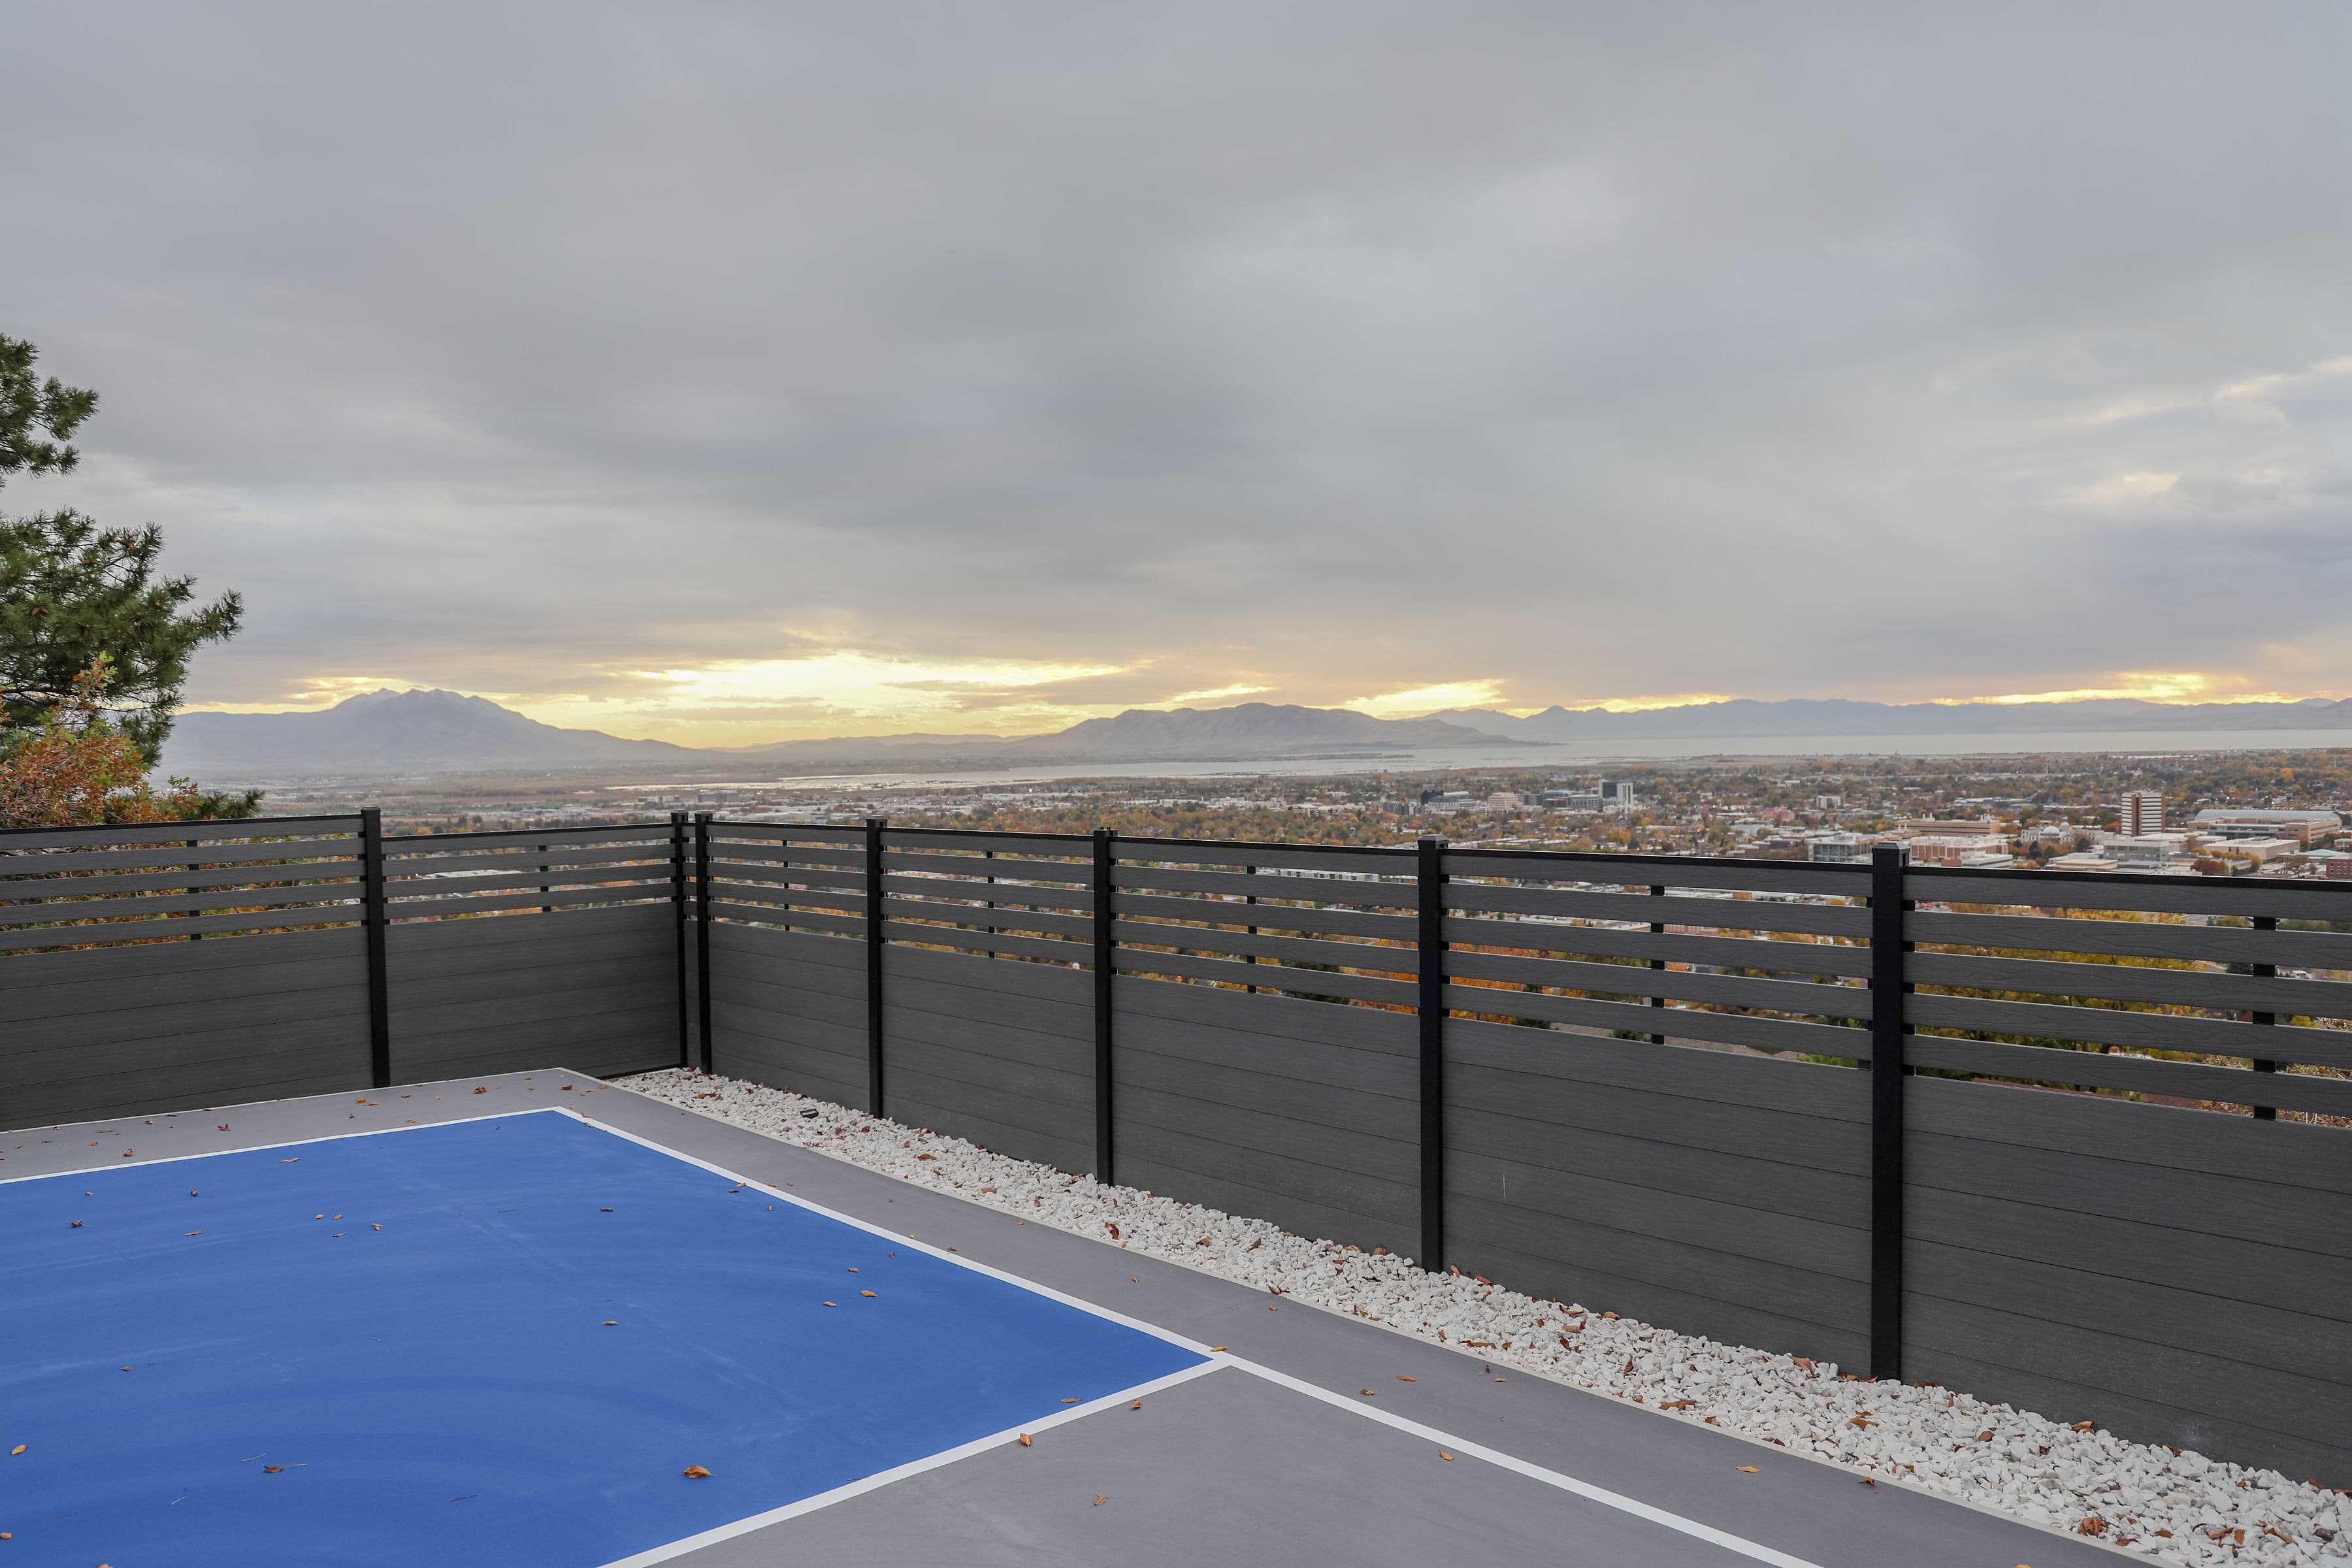
Composite Fence Installation: Step-by-Step
From signed quote to walked-and-warranted fence in four steps. What a certified Compoxen install actually looks like on the day.
· 5 min read · By Compoxen Editorial
A typical Compoxen residential install of 100–200 linear feet completes in one to three working days. Here is what to expect from a Compoxen install in Utah.
Step 1: Quote and site survey
One of our crew leads measures the run, identifies grade and obstacle conditions, confirms property lines, and pulls local code for post depth and wind load. The quote is binding except where buried surprises change the scope.
Step 2: Permits, code, color
The dealer pulls the relevant residential or commercial permit if your jurisdiction requires one. You select from the five architect-led colors. Lead time begins when the color is locked.
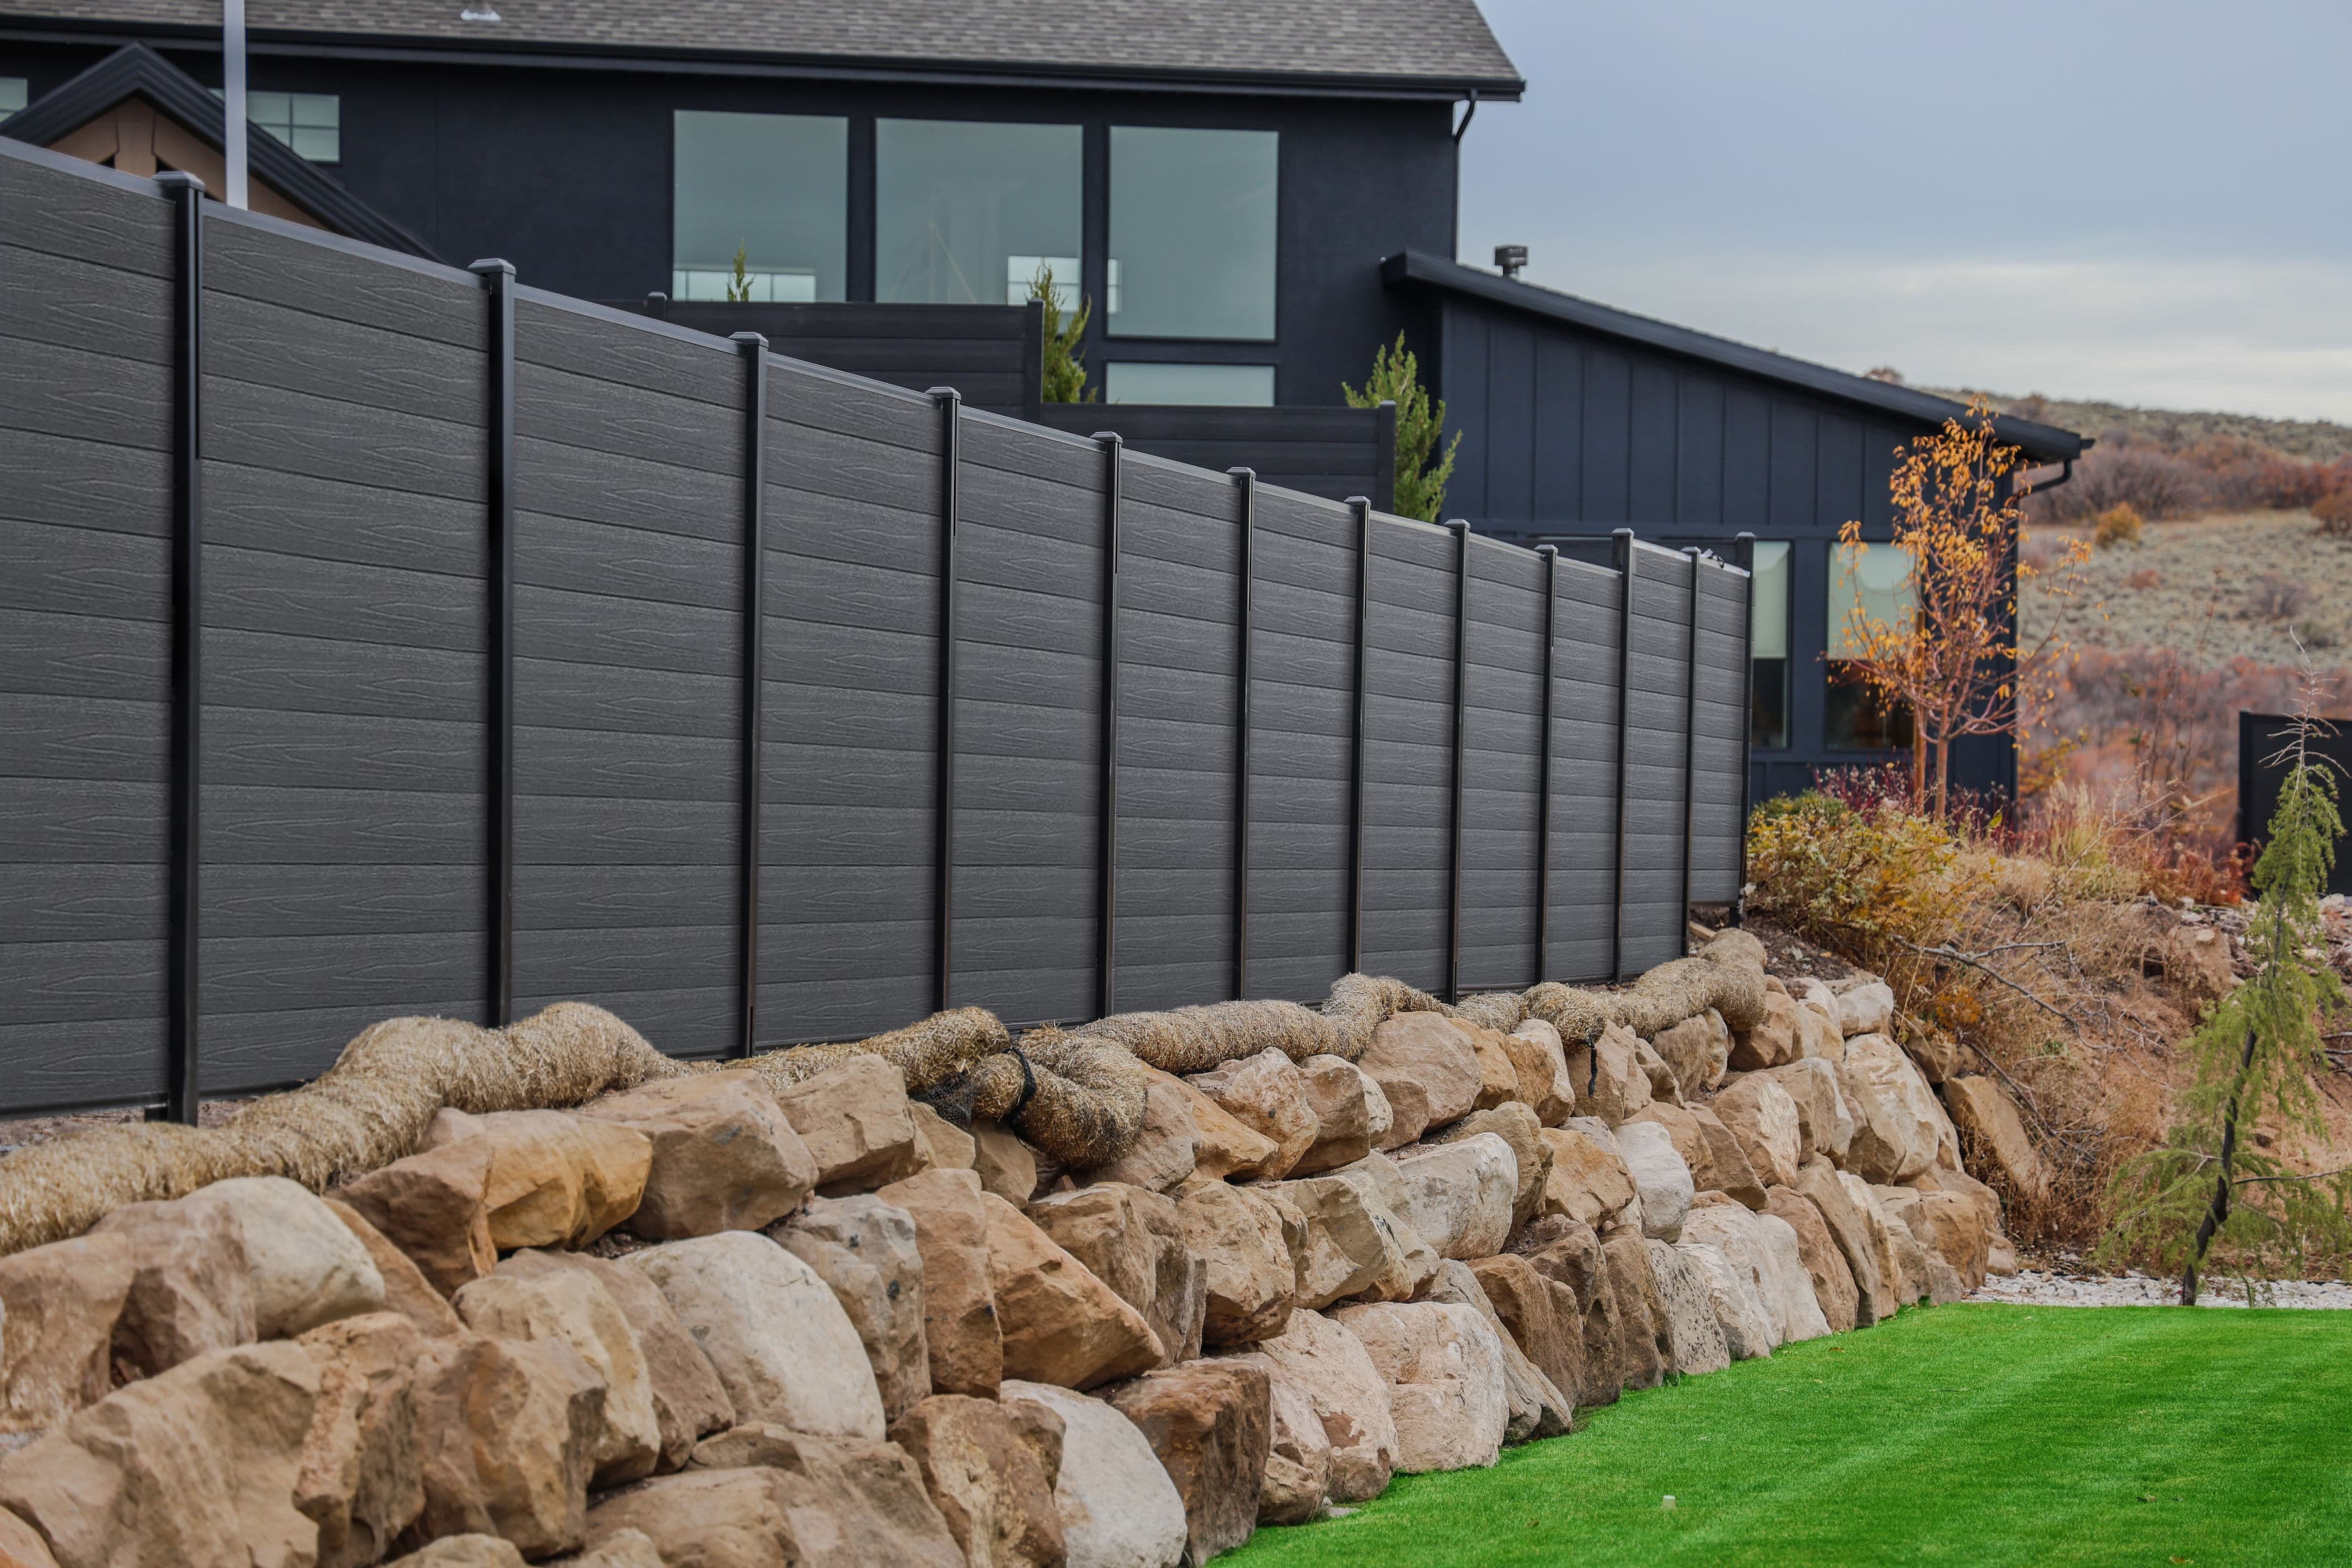
Step 3: Post setting and footings
Posts are set in concrete footings sized to the local frost line and engineered post spacing. Most jobs use 24–36 inch footings. The crew laser-aligns the post line before concrete cures.
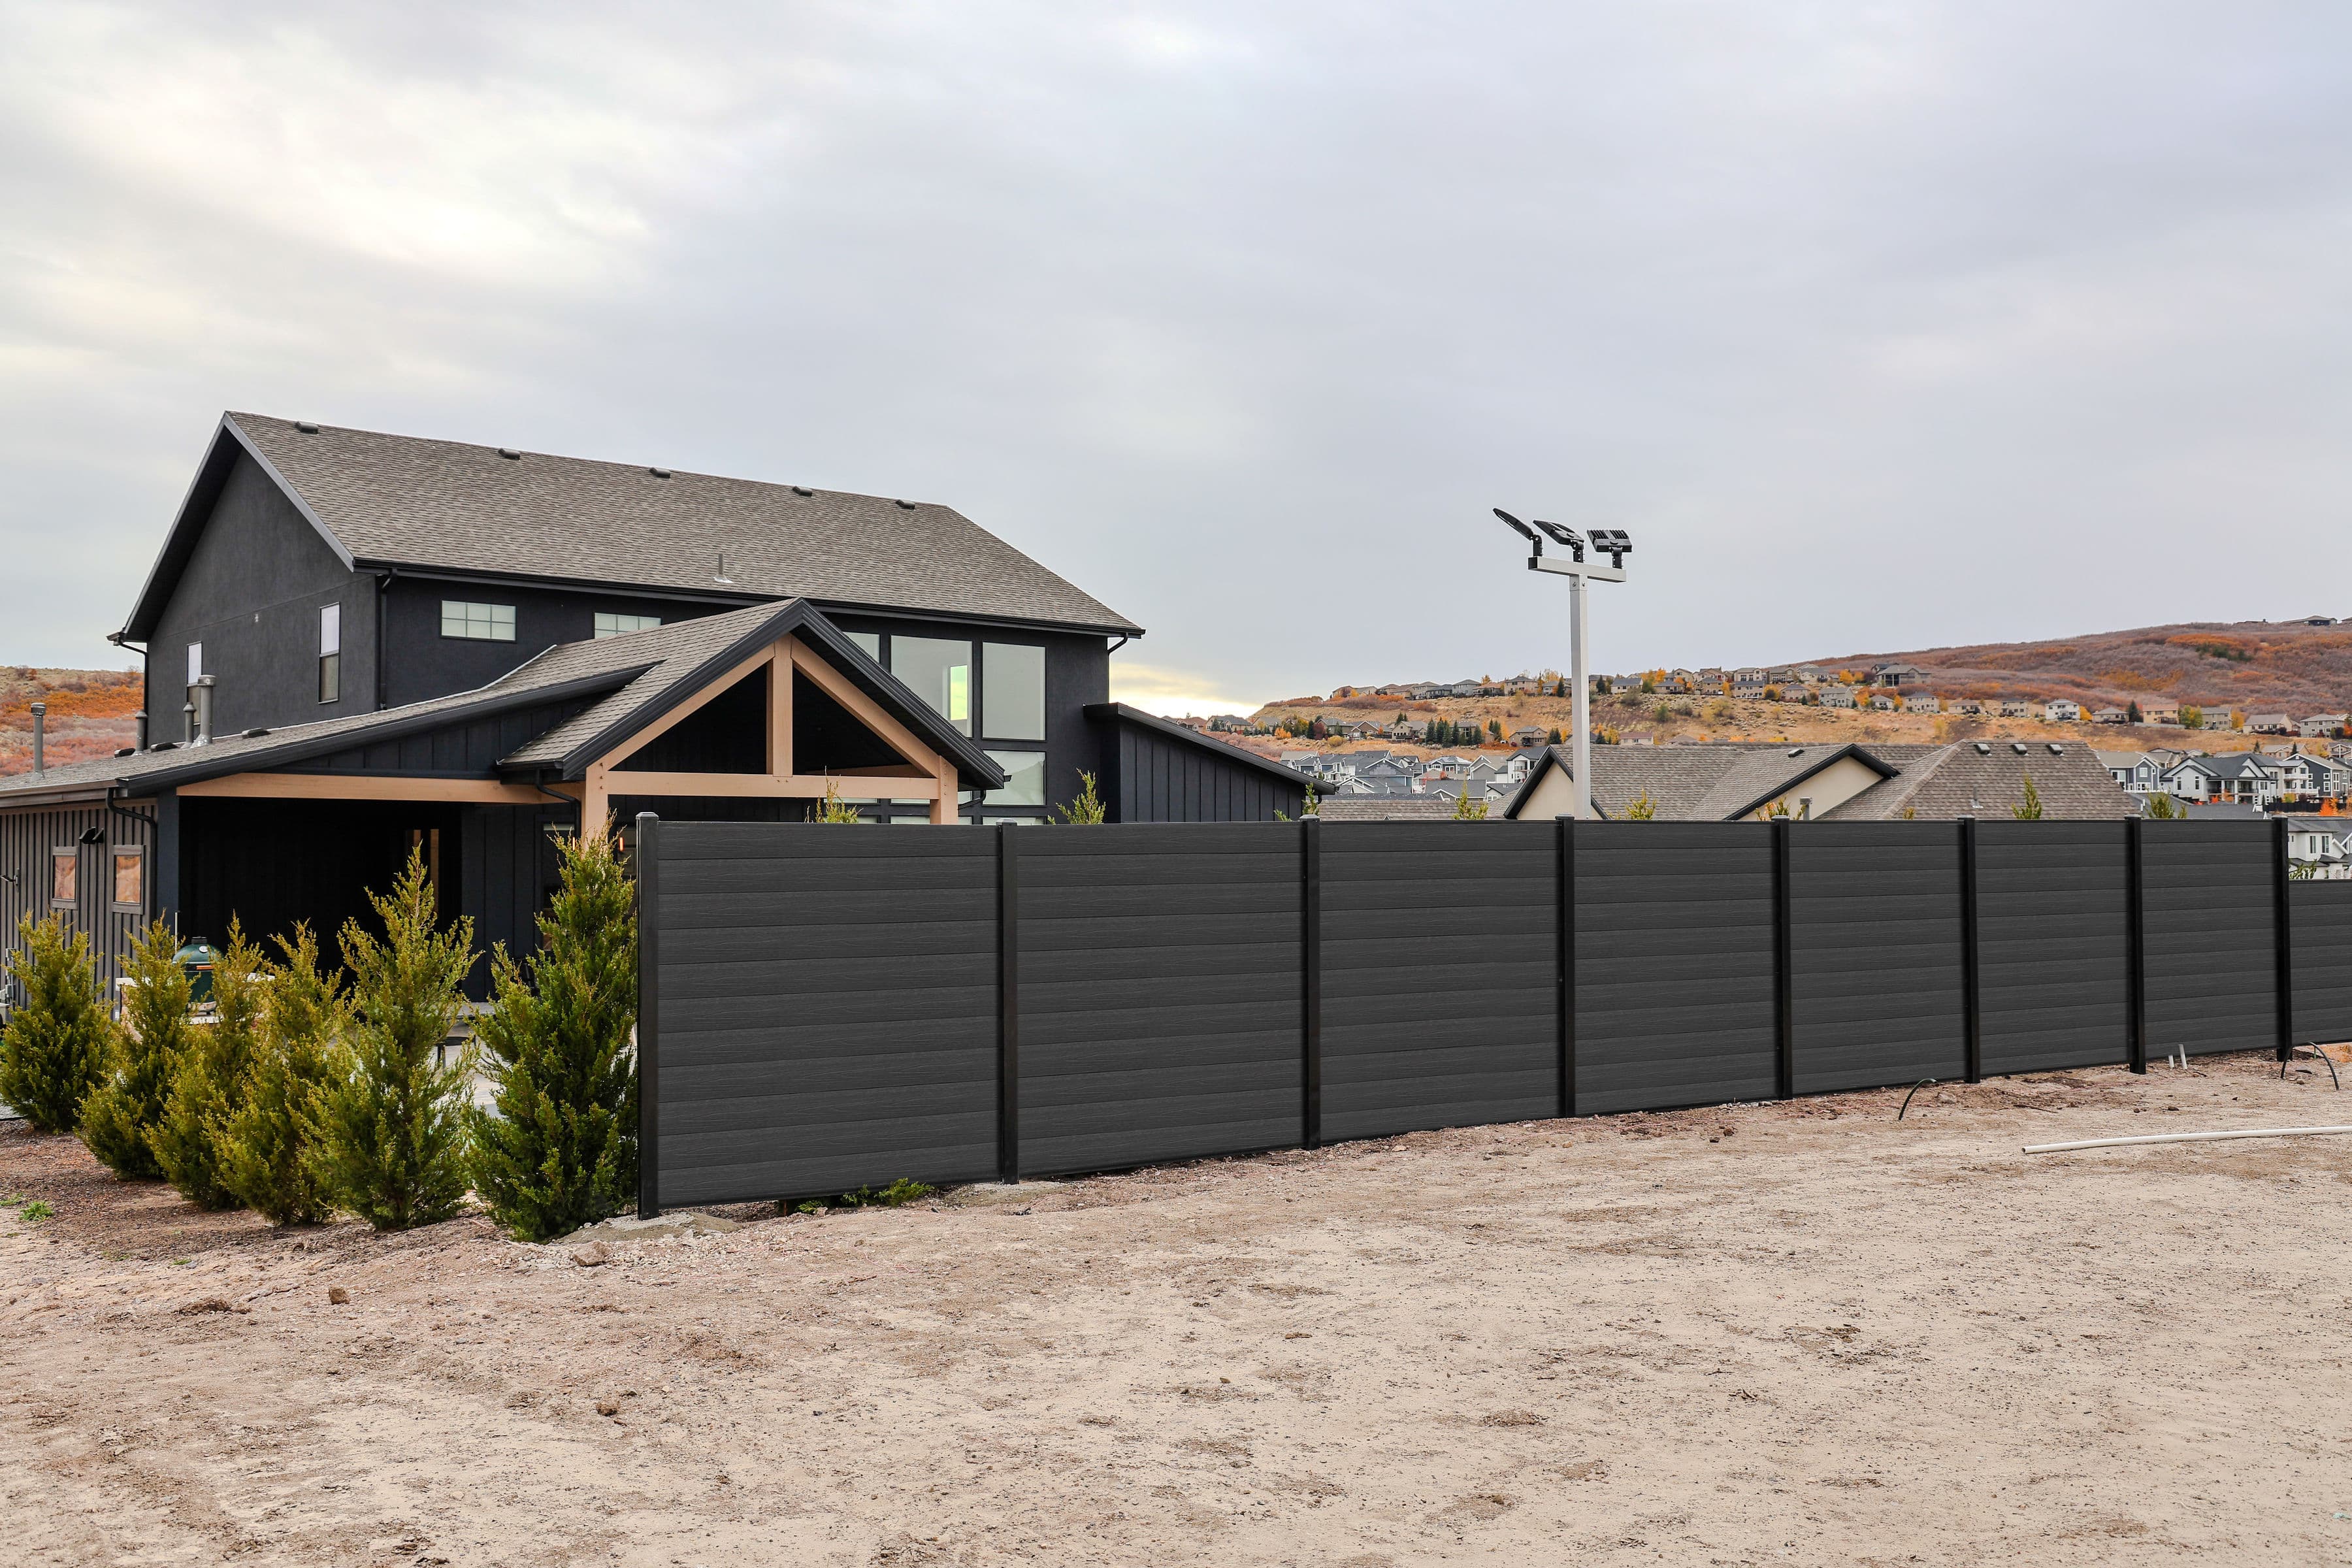
Step 4: Panel installation and walk
Panels drop into the engineered post system using the hidden fastener mechanism, racked or stepped to follow grade as needed. The crew walks the run with you, confirms gate operation, and registers the warranty before leaving the site.
What you should not do
Do not buy Compoxen panels and try to install them yourself. The 20-year warranty is contingent on installation by a Compoxen-trained crew following the manufacturer specification. DIY installs void the warranty.
What about my old fence?
We offer removal and disposal of an existing wood, vinyl, or chain-link fence as part of the project. Confirm scope and pricing on the written quote.
See more
Full process page at /installation, specifications at /specifications.
Ready for a real number?
We'll reply with pricing, lead time, and availability for your Utah project.
Get a Quote